Category: Painting

aechmea fasciata painting

Selection of Pink Watercolor Flowers

Thanks to my membership at the botanic garden (and multiple visits over the summer), I now have a huge collection of snapshots of beautiful, showy, and unusual (to me) flowers to paint. Today I’m taking a look back at some pink watercolor flowers that I painted this past August in my large moleskine sketchbook. I spent quite a bit of time painting these—on paper that isn’t even intended for watercolor. It’s almost a shame that I didn’t use proper watercolor paper, but I think that the fact that it was in my sketchbook helped me to relax and enjoy myself more than I would have otherwise.

aechmea fasciata painting
©2016 Carolyn A Pappas, Aechmea fasciata. Graphite and watercolor in large moleskine.
watercolor hibiscus
©2016 Carolyn A Pappas, Hibiscus in strong lighting. Graphite and watercolor in large moleskine.

sleeping dogs painting

Sleeping Pups

sleeping dogs painting
©2016 Carolyn A Pappas, Sleeping Pups. Colored pencil over watercolor, 9 x 12 inches.
This is my most recent project—my first pet portrait commission. I originally was planning on painting it all in watercolor, but then decided to add colored pencil to give it some more texture. I also changed the color of the dog bed from seafoam green, cream and brown to Prussian Blue. I think the blue makes the dog’s fur “pop” a lot more against the background.

I’m glad I tackled this project, but it wasn’t what I would consider a relaxing painting to make. Still, I did find it rewarding when the owner was so pleased. Now, I am going to get back to a few projects of my own.

new guinea impatiens watercolor

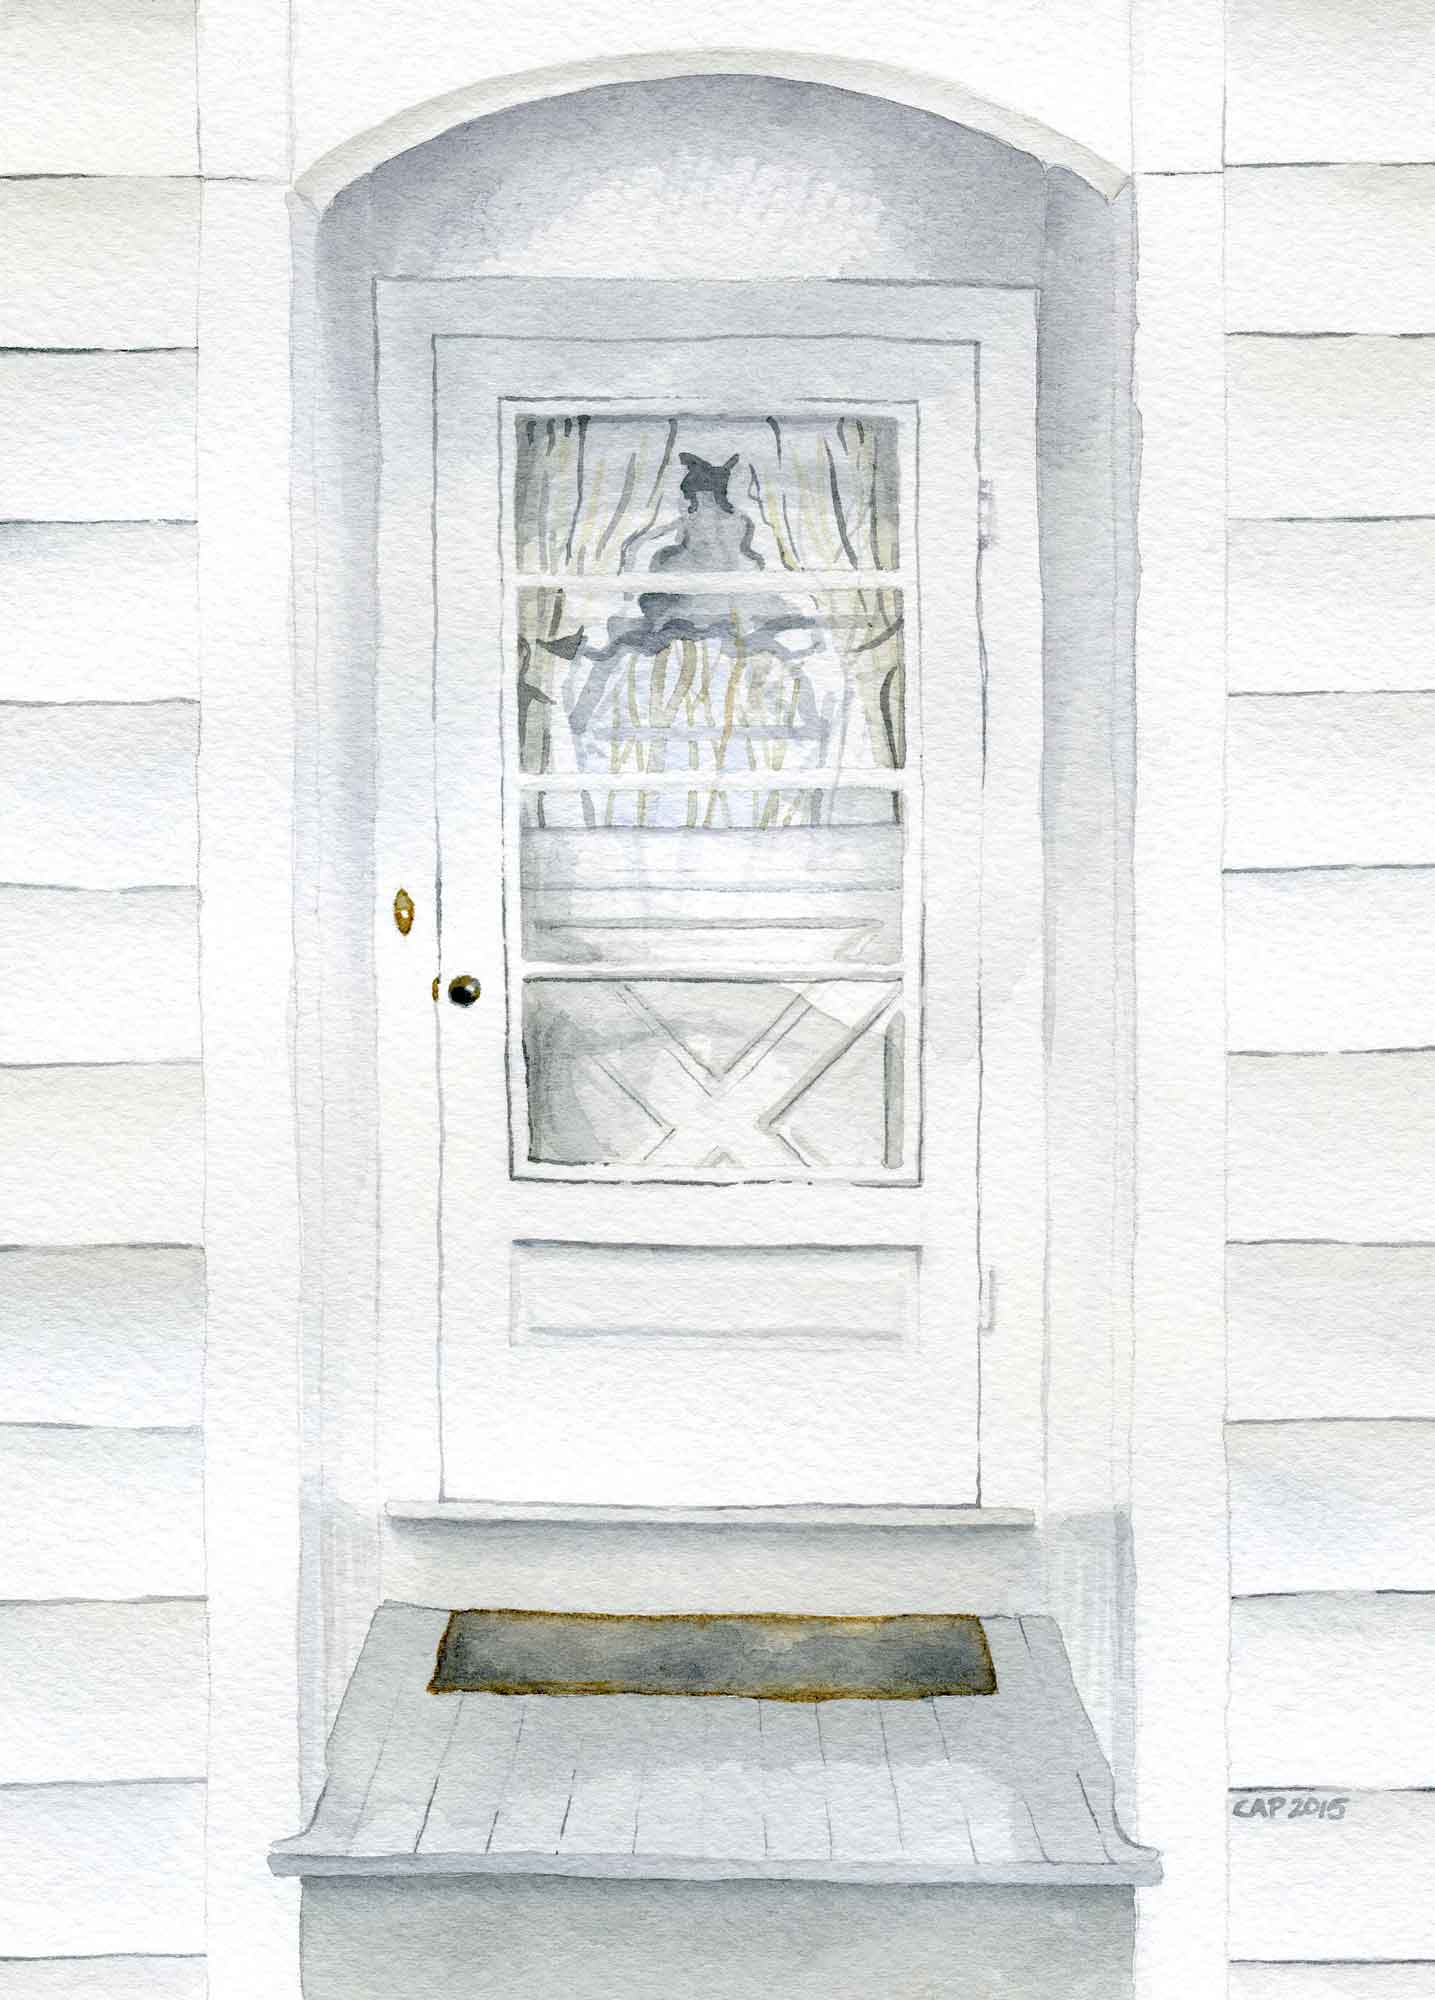
Outdoor watercolor sketching on a greeting card

new guinea impatiens watercolor
©2016 Carolyn A Pappas, New Guinea Impatiens (5/27/2016). Watercolor on a blank note card, 8.9 x 12.4 cm.

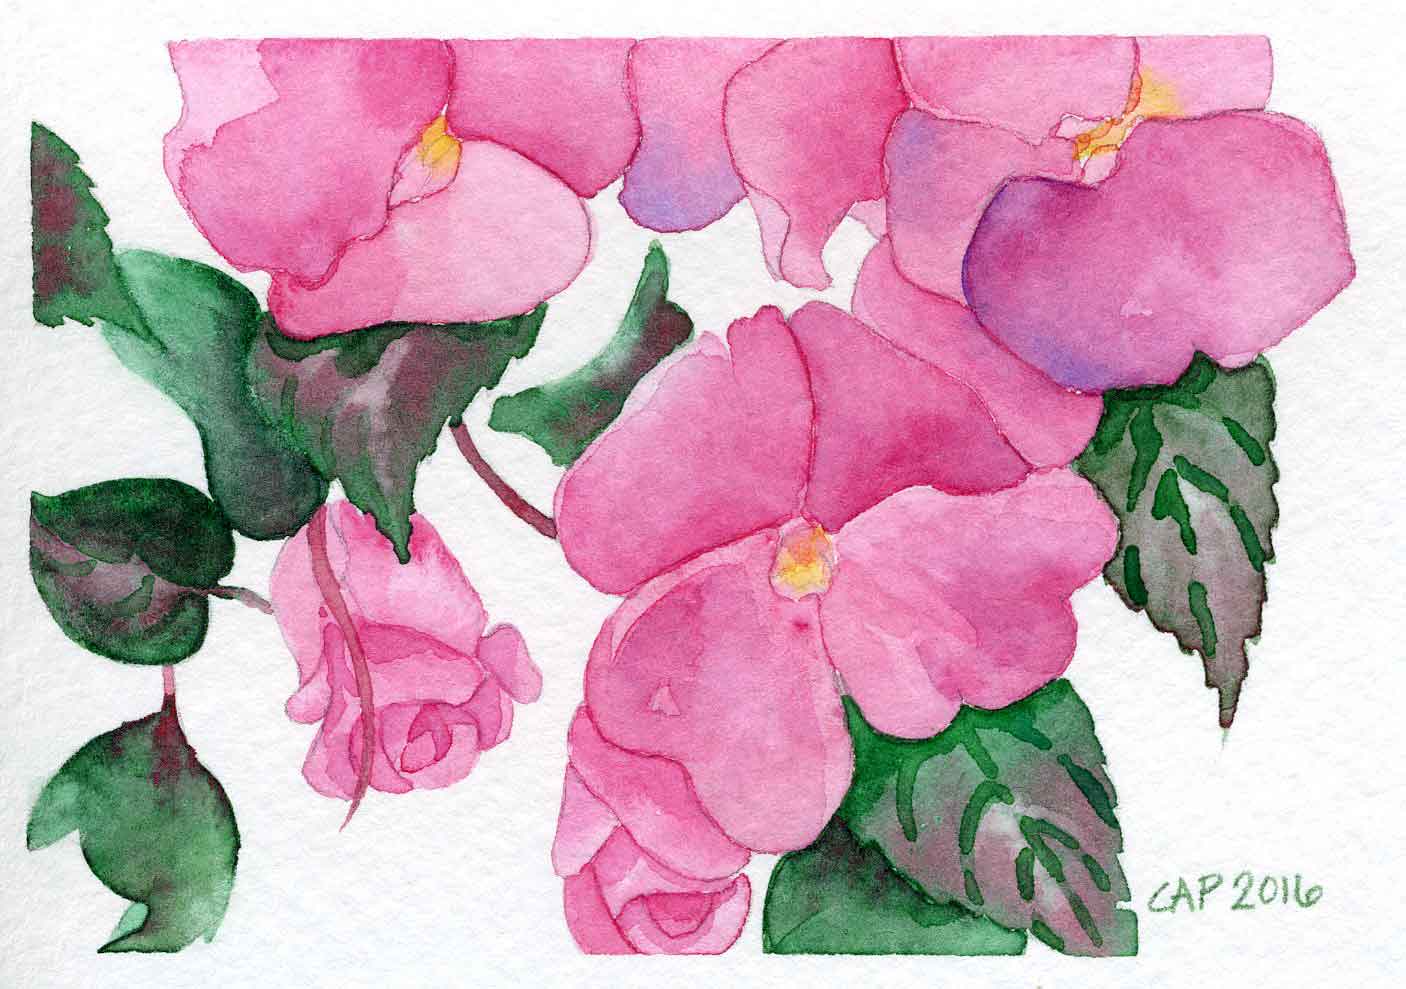
Lately I’ve been trying to expand my skills and get a bit out of my comfort zone. With that in mind, instead of sketching with pen outdoors as I usually do, I decided to paint in watercolor. There is so much information online about people’s ideal travel watercolor setup, but I never paid attention to it much because I never took my watercolors outside with me. Interestingly, my supplies weren’t the problem for me this time.

I used a size 6 Cotman III brush and my Winsor & Newton compact set. For water, I used my regular water cup. My seating was on the granite steps going down into the lake. I felt a little uneasy because I was sitting in an awkward position with the trunk of my body twisted in an odd angle to properly view the flowers. Minuscule bugs started crawling across the paper as well which concerned me because I didn’t want to squish them and then leave a mark on my card. I found that a strong puff of exhale blew them off my paper which worked nicely. It was late afternoon when people start taking their speedboats out, which generated pretty large waves and I almost got splashed a few times.

The whole experience left me feeling rather rushed and not relaxed. The next time I go outside to paint I am going to put some more thought into my seating location as well as my subject. I will pick something less detailed and easier to paint quickly.

Front Door watercolor

At Grandma’s

Front Door watercolor
©2015 Carolyn A Pappas, At Grandma’s. Watercolor, 8 x 5.75 inches.

This painting was a challenge for me, and I almost quit midway through, but I am glad I persisted. Windows and doors have always been an interest of mine, but they certainly take a lot of patience. This particular door is special to me, as it is the entrance to a lovingly hand built house that has been central to many childhood memories — Grandma’s house.

Watercolor bookmarks with handmade tassels

Back to the books

Watercolor bookmarks with handmade tassels
Painted bookmarks (watercolor) with handmade tassels.

I made myself some new bookmarks in preparation for the fall semester that started today. This time I am taking all of my classes online which I have never done before. Some people have trouble keeping themselves disciplined with their self study schedule, but my years of homeschool have prepared me well.

I took a few weeks off in between the end of the summer session and now. By the end, I was really itching for school to start again. I was very overwhelmed with my intense schedule over the summer and I just could not wait to have some time off to do whatever I wanted with no demands. I was anticipating a really productive time doing a lot of painting and drawing, etc. Interestingly, I found that my expectations did not match reality. Instead, I ended up losing my motivation, getting way off my sleep schedule, and wrenching my shoulder so that I did not do much drawing at all. I realized that I function best when I have some sort of structure to my day (but not too much) with defined work to do and have to fit my artwork in between everything else. Lisa Congdon wrote an interesting post about how her expectations did not match reality when she recently went on a three week artist residency.

I’m interested to see how this next semester works out because I will mostly have complete freedom over my school schedule. Will I end up getting more artwork done? I hope so!

watercolor tests sketchbook

Testing some new paints

I splurged and bought a Winsor & Newton compact paint box and I took it for its first test drive today in my sketchbook, trying out different mixes and seeing how colors look when they are layered over other colors. The photo below was taken with my phone, and the colors don’t appear as vivid as in real life. I’m looking forward to painting some pink roses with the lovely pink peachy colors in this set. Overall, the palette seems very suited to the natureish type of things that I love to paint.

I also had a custom stamp made for myself (1 x 2 inches) which says: “From the Studio of Carolyn A Pappas.” I felt very official with a stamp with my name on it and I’m already thinking of some things to stamp up.

watercolor tests sketchbook
©2015 Carolyn A Pappas, Color Tests (2-22-15). Watercolor and ink in large watercolor moleskine.

Here are some links I have come across recently which interested me and may interest you as well:

  • Take a peek inside the sketchbooks of J.M.W. Turner. I love the urgency in his sketches.
  • Danny Gregory is looking for people to email him their stories of their encounters with their personal monkey (inner negative voice).
  • I read some interviews of designers/freelancers discussing money and how they manage it which I found very interesting. Read them here and here.

The Princess Box

painted box with jewels
Carolyn A Pappas, The Princess Box. Acrylic Paint, gold Sharpie paint pen and adhesive rhinestones on a 4.5 inch diameter paper mache box.
I took a little break from my normal work to paint this box. My boss gave me this 4.5 inch diameter plain paper mache box filled with candy last Christmas, and I immediately thought I would do something to decorate it. I painted the box with acrylic paint and then did some detailing with a gold Sharpie paint pen and stuck on some rhinestone stickers for the jewels. I left the sides of the box fairly plain as the cover was so ornate. I am going to get a piece of stick on felt for the bottom of the box.

I was planning on giving this to my daughter as a part of her Easter gift, but I decided to hold onto it and give it to her when she is a little older. She will be able to keep her necklaces and bracelets in it.

On a related note, artist Elsa Mora has been making and painting some custom sized boxes for her new home, which she wrote about here and here. I really enjoyed how she discussed how she constructed and waterproofed the boxes.

handpainted ornaments

Working Slowly

hand painted ornaments
Painted Christmas Tree Ornaments, acrylic paint and oil based Sharpie paint pens on wood.
My latest project has been some hand painted Christmas tree ornaments, finished just in time to hang on my tree. I worked on them slowly over the last few weekends and after work hours, taking me far longer to complete than I thought they would. It was a pleasant experience as it got me into the Christmas spirit and I am happy with the results.

These were also cheap to make, as the laser cut wooden pieces cost about $1 each at Michael’s and I already had the gold and silver Sharpie paint pens on hand from an earlier project.